Showing posts with label beautiful. Show all posts

Friday, January 9, 2015

Memory Table

So, for my wedding (back two and a half months ago), I had wanted to do something to honor our families (and the lineage of love we both came from).

At another wedding I had done flowers for back in April, I saw a "memory table." Where she put photographs of family members who had passed on to honor them. So, I took this idea and tweaked it.

My Grandma and Grandpa (Maternal)

Ian's Paternal Grandparents
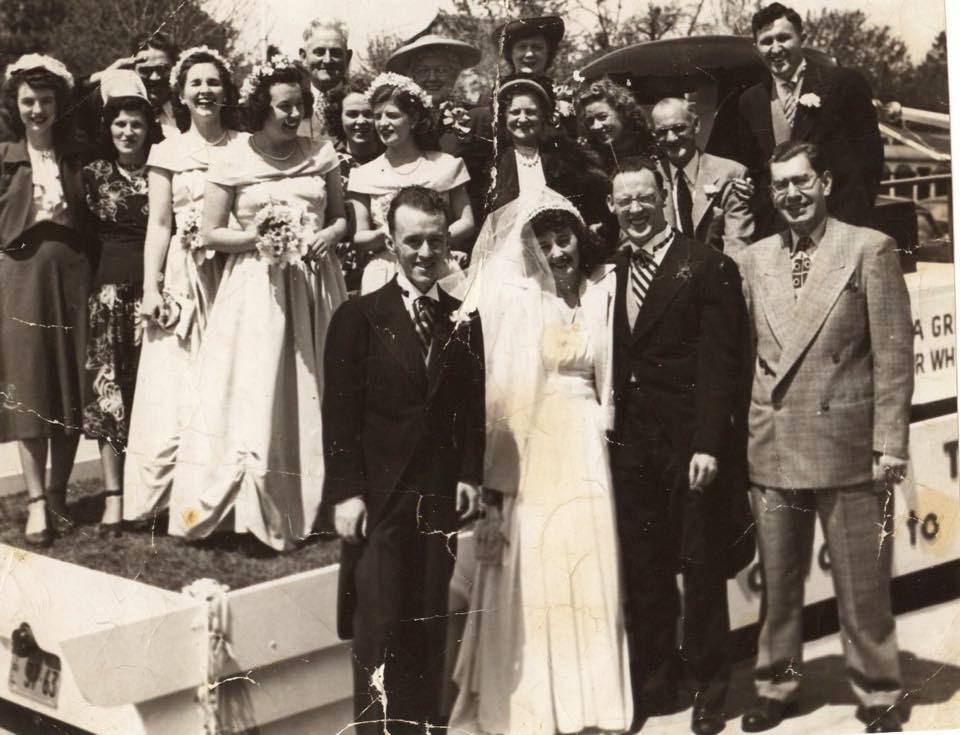
Ian's Maternal Grandparents

My parents

My Paternal Grandparents (Nanan and Papa)

Ian's Parents


My Aunt Sistie & Uncle Grady


So combining all of these old photographs (plus a recent one of Sistie and Grady's daughter (Claire's) wedding), I put together in frames (of various shapes and sizes but all white) a memory table. 
In 8 x 10 frames: Our parents
In 5 x 7 frame: A photo of us
In 4 x 6 frames: grandparents, aunt/uncle, and cousin

In addition to the frames I added flower petals, candles, and a metal bird cage / lantern (that held a candle) and matched my 5x7 frame (both from IKEA).


I loved the way mine turned out, and I loved that I got to share the lineage of our love with all of our guests. If you've been looking for a special way to honor your family at your wedding, maybe considering a memory table should be on your to do list.


Items:
Birdcage Lantern. Ikea. $18
Wire Picture frame. Ikea. $5
8 x 10 Frame. Michaels'. $10 / each (clearance)
4x6 frames. Dollar Tree. $1 / each
Yellow Frame. Michael's. $2 (clearance bin)
Branches. Big Lots. $18
Candles. Hobby Lobby. $10 (set of 6)
Petals. Sams' Club. 

Prints. Walmart. 
4x6: $0.09 / each
5x7: $0.59 / each
8x10: $2.84 / each

Doable. Affordable. Beautiful.


Thursday, July 4, 2013

Perfect Vintage Curls

So a few months back I bought a groupon / living social deal for a Proliss curling wand. I studied up on the different sizes trying to figure out which would give me the curls I was looking for. I would link you to the tutorial I read if only I could locate it again....

Ok, so I got the 19mm curling wand because it was the "type" of curls that I wanted. They go on sale on deal sites from time to time. Mine was $30 plus $5 shipping. It's a $250 curling wand. And for what it does it would be worth every penny.


To prove to you that my hair is only slightly wavy when I wash it and/or wake up in the am:
Me with washed & brushed hair. It's got some natural body and wave, but it's not curly by any means. Also, I have on not one bit of makeup. Aren't I beautiful? lol


Step 1: 
Put part of your hair up

Step 2: 
Take a small chunk of hair and as far up as you can without burning your scalp....close to your head.

Step 3: 
Take that hair and twirl it all the way around the wand up to the top. You can hold the end. It's hot but not burning. Be careful not to burn your fingers.

(they do give you a glove so you don't burn it, but I didn't use that...)

Step 4:
When you let go it will come out as a small ringlet curl.

Step 5:
Spray that sucker! I love my big sexy hairspray. But you can use whatever your fave brand is.

Step 6:
Do all of the hair in the section you have down.

Step 7:
Let down new section(s) until you curl all of the hair. And don't forget to spray!


Step 8:
Turn that head over and shake it out!
(That's my fave step. Mess that hair up you just spent a ton of time making pretty!)


Step 9:
Isn't that pretty?
(And isn't it magical? I changed shirts!)


Step 10: 
Put on some makeup, and you are now BEAUTIFUL!
(And again with the costume changes! I put on a dress!)


Sunday, September 30, 2012

Ribbons in Her Hair

Saw this adorble pin that had a waterfall braid that was tied off with a ribbon (and the ribbon was also the headband) for a side pony.

http://pinterest.com/pin/141089400796183770/

I decided to do my own variations on this:


My first try was actually just pinning the ribbon as a headband and then bowing it off at the top of the braid and braiding the remaining ribbon down. I was less than satisfied.

This way took 15 minutes and minimal effort.

Take 2 I waterfalled the back, tied the bow, and continued the braid down still integrating the ribbon.

This way took 20 minutes and medium effort (mostly because of the waterfall on the back of my head)

Take three I did the same maneuver, but I moved the bow down to the bottom of the braid.


Better views of the side and back


This took 35 minutes and medium / hard effort because I had to keep redoing the waterfall on the back of my head to make it look decent. I did not have a mirror behind and in front at this time, and it made it REALLY hard. 

Basically, if you'd like to braid a ribbon into your hair and have it as your headband, I think the bow looks better at the bottom. Or perhaps just try like the original pinner did...waterfall, bow, pony. However, I did like the way the blue looked in my braid.


BIG TIPS:
If you're going to use the same ribbon for braid and headband:
1. PIN IT IN!      You absolutely must bobby pin it to both sides of your head before you begin the waterfall braid or it will fall out.

2. Have access to a mirror in front and behind you.     I'm lucky to have a mirror front closet that is split doors so I can have a front and back mirror to do back of head braids. If you don't have this, it will be harder for you to accomplish.


3.  Have spare bobby pins!    There will be little whispies that insist on getting out of line. You need bobby pins to secure them back into place. Just twist as you work them into the braid, and they'll be almost seamless.


Happy Hairdos!